First, let’s look at the differences you’ll notice when you actually drink them. The amount of hop bitterness is a big differentiator. IPAs are often highly hopped (more than40 IBU and commonly over 60 IBU), whereas lagers are generally far more subtly hopped (around 20-40 IBU). IBUs are international bittering units, a standardised way of quantifying bitterness in beers.
Traditionally Lagers would have used Noble Hops (Saaz, Hallertauer Mittelfrüh, Tettnang, Spalt), whereas an IPA would have used Goldings and Fuggles. Modern IPAs, such as the west coast and east coast styles from the USA are often more bitter than the traditional British variety and use newer hop varieties, including Simcoe, Amarillo, Mosaic and Citra.
These days any beer can use any hop – we have more hops and world trade means we can get some hops from Germany, New Zealand or the USA just as easily as we can from local hop growers, but it is unusual to find a very hoppy, bitter lager or a subtly-hopped IPA.

Now for a science lesson, as we look at the technical differences.
The main difference is the yeast. Ales are typically brewed with a top fermenting yeast, S.Cerevisiae whereas lagers are brewed with a bottom fermenting yeast, S.Pastorianus.As a result of the different yeasts used, ales are fermented at higher temperatures (14-20℃) than lager(10-12℃); the ranges can be larger but these are a rough guide. Some steam lagers are fermented at ale temperatures but with a lager yeast.
A lager would typically be allowed to warm towards the end of the primary fermentation for a couple of days diacetyl rest but this is not always required with an ale. However, if your ale has fermented at the lower end of the yeast’s preferred temperature range, it may benefit from a diacetyl rest.
Lager fermentation usually takes longer than ale fermentation due to the lower temperatures. Steam lagers can finish just as fast as an ale, reaching final gravity in four to five days.
Lagers should, according to their name, be stored for a period of time in secondary/lagering vessels: lager means storehouse or larder. This is not always required and a drinkable lager can be produced in under two weeks, but we would question if it should be called a lager if it has not been stored at 0-4℃ for a week or more.

Now for a short history lesson: how did lagers and IPAs evolve?
Lagers were first made in Bavaria and later in Bohemia (with pilsner) in the early nineteenth century. IPAs started out in London, then production moved to Burton upon Trent. Both these paler varieties of what had gone before were made possible by new indirect kilning methods that allowed for the production of lighter malts.
This little bit of history is important, as lager is usually made with a double or triple decoction mash, whereas IPAs are generally made with the British-style single temperature infusion mash. There are no hard and fast rules though. You could technically make either with either method, and these days many lagers are made with single infusion and, although we’re not aware of any IPAs made with decoction, it can be done. We know a few German brewers who would be horrified to think of a Lager made by British and, therefore, incorrect methods.

Decoction mash versus single temperature infusion mash
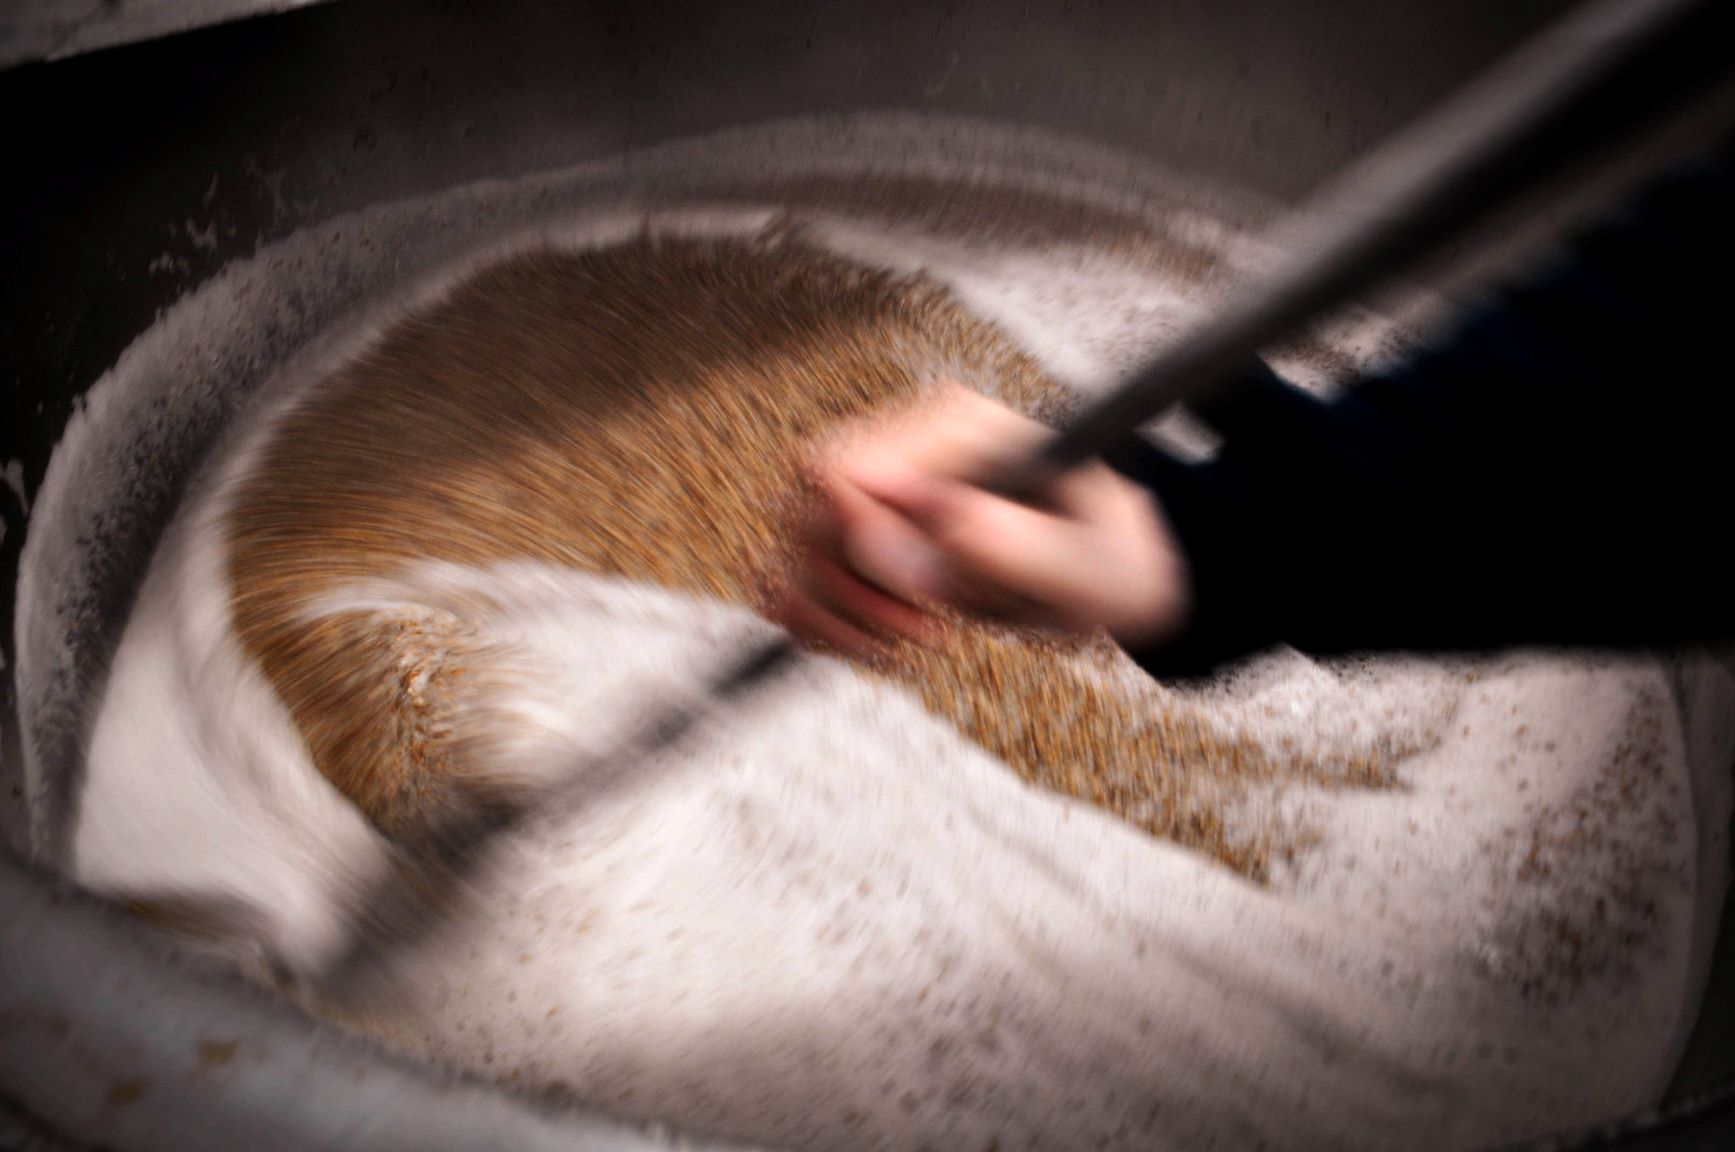
There is a very long and complicated explanation for this, but the short answer for our purposes is: in a single temperature infusion mash, the water (liquor is heated to about 75℃ and all the grain (grist) and about a third of the total liquor are mixed together, creating a mash at about 65-67℃. This is then allowed to stand for an hour for the enzymes in the grains to convert the starches in the grain into sugar. You want the lovely sugar as this is what the yeasts will eat and turn into alcohol and other delicious flavour compounds.
The other two thirds of the water are used to shower (sparge) the grain to wash out the remaining sugars.
This method is only possible due to thermometers. Without the ability to accurately measure temperature, single infusion would be highly error prone. The evolution of well-modified, consistently malted barley strains has also helped the reliability of this method.
Decoction mashing, on the other hand, is a far older method, in which you do not need a thermometer. You just need a way to measure time and to boil a mixture of grain and water (the mash). In decoction mashing, grain and water are mixed and then portions of the resulting mash are pulled out of the mash tun, brought to the boil and then returned to the mash tun. This way, even without a thermometer, the malt can be taken through the acid rest, protein rest and saccharification rest consistently – no modern technology needed.
The major downside of double or triple decoction mashing methods, we think, are that they take much longer than single temperature infusion mashes; but the purists would argue they are the one true way to make a lager.

In these enlightened days of brewing, where methods and ingredients travel so easily, the remaining hard and fast differentiator between IPAs and lagers is the different yeasts used to produce them – they are the little ones that do all the work and we brewers just have to keep them warm (or cold) and feed them sugars so they can do the important bit!


Recent Comments